
If you’re looking to boost your home theater’s audio output, or simply want a better way to fill a room with music, ceiling speakers are a great option. While they may seem like a daunting DIY project, mounting ceiling speakers is actually pretty straightforward—provided you have the right tools and know-how. In this article, we’ll walk you through the process of installing ceiling speakers step-by-step, from choosing the right location to making the connections.
- Find the location of the studs in the ceiling using a stud finder
- Cut out a hole in the drywall using a saw based on the size of the speaker
- Run wires from the receiver to the speaker location
- Affix brackets to the speakers and screw them into place
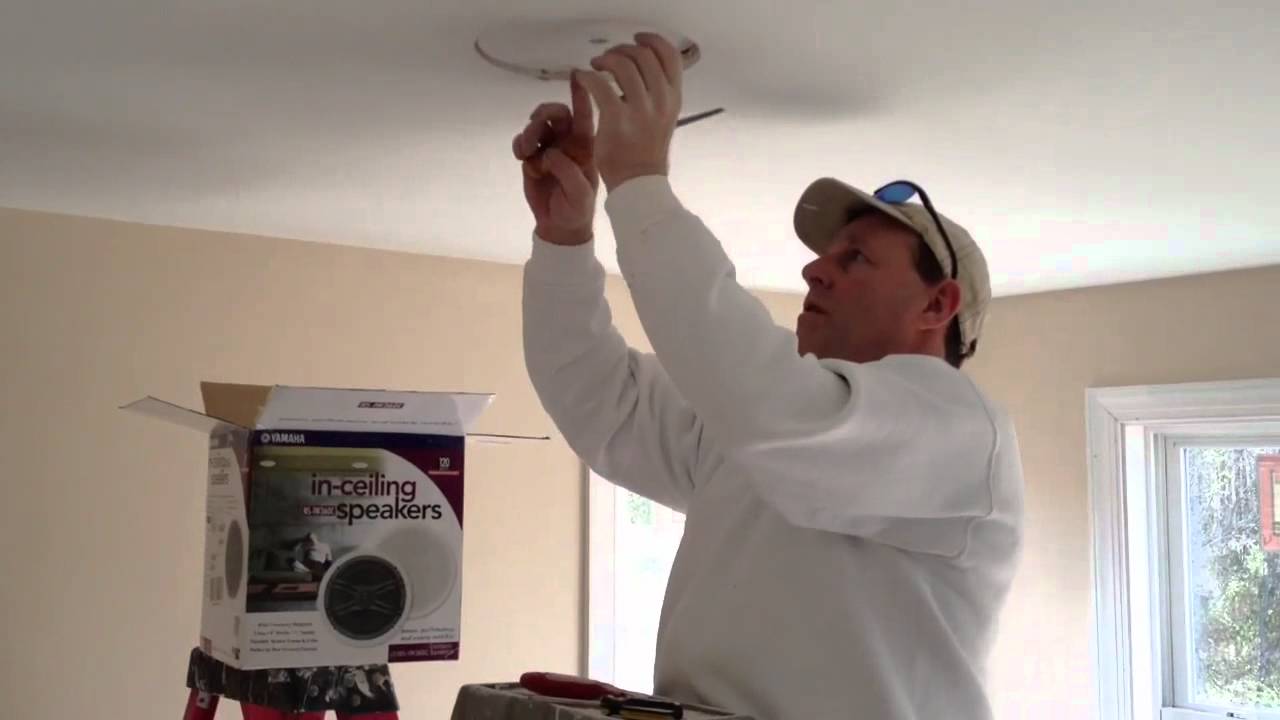
I should have hired a professional… DIY in-ceiling speaker install
How Do You Put In-Ceiling Speakers?
Installing in-ceiling speakers is a great way to improve your home theater experience without having to sacrifice aesthetic appeal. While it may seem like a daunting task, putting in ceiling speakers is actually quite simple and only requires a few tools. Here are the steps you need to take in order to install in-ceiling speakers in your home:
1) Choose the right location for your speakers. This is arguably the most important step, as choosing an unsuitable location can result in subpar sound quality. When selecting a spot, keep in mind that the closer the speaker is to the center of the room, the more evenly distributed the sound will be.
It’s also important to avoid placing ceiling speakers too close to walls, as this can cause sound reflection and distortion.
2) Cut out holes for your speakers. Once you’ve chosen an appropriate location for your new ceiling speakers, use a drywall saw or hole saw to cut out circular holes that match up with the size of your speaker grilles.
If you’re not sure how big of a hole to cut, err on the side of caution – it’s always easier to make a hole bigger than it is to make one smaller.
3) Affix speaker brackets (optional). Speaker brackets aren’t required for all installations, but they can provide added stability – particularly if you plan on cranking up the volume on occasion.
Most brackets simply screw into place using drywall screws; however, some models may require additional fasteners such as nails or adhesive tape.
4) Install your ceiling speakers. Once everything is ready, it’s time to finally install your ceiling speakers!
For this step, all you need to do is carefully twist each speaker into its respective bracket (or hold it firmly in place if you opted not to use brackets). Make sure that each speaker is screwed in tight so that there isn’t any risk of it becoming dislodged over time.
5) Connect your speakers wirelessly or via wired connection (depending on model).
Many newer models of ceiling speakers are Bluetooth-compatible and can connect wirelessly to your receiver or amplifier; however, older models will need to be connected using traditional speaker wires. If connecting wires sounds like too much work, consider opting for wireless adapters that allow you convert any type of speaker into a Bluetooth-ready device.
Can I Mount Ceiling Speakers In-Wall?
The short answer is yes, you can mount ceiling speakers in-wall. However, there are a few things to consider before doing so.
First, you need to make sure that the wall itself is suitable for mounting speakers.
The wall should be made of sturdy material that can support the weight of the speakers. If the wall is not strong enough, the speakers may fall and break.
Second, you need to think about speaker placement.
Where will the speakers be mounted in relation to the rest of the room? Will they be visible or hidden? How close will they be to other objects in the room?
These are all important factors to consider when choosing in-wall speaker placement.
Third, you need to make sure that your chosen speakers are compatible with in-wall installation. Not all types of speakers can be installed in-wall.
Be sure to check with the manufacturer before making your purchase.
Finally, once you have considered all of these factors, it is time to install your new ceiling speakers! Make sure to follow all instructions carefully so that your speakers are installed correctly and safely.
How Far from Ceiling Should Speakers Be Mounted?
It is generally recommended that speakers be mounted at least 2 feet from the ceiling, and preferably 3-4 feet. This allows for proper dispersion of sound and avoids creating hotspots or areas with excessive sound pressure levels. It is also important to ensure that the speaker is properly angled so that it points directly towards the listening area.
Can You Hang Speakers from the Ceiling?
Yes, you can hang speakers from the ceiling! There are a few things to keep in mind when hanging speakers from the ceiling, but it is definitely possible to do.
The first thing to keep in mind is that not all speakers are meant to be hung from the ceiling.
Some speakers are designed for floor standing only, so make sure your speaker is designed for ceiling hanging before attempting to do so.
Another thing to keep in mind is the weight of your speaker. Most ceilings can support up to 50 pounds, but it’s always best to check with your landlord or building manager before hanging anything from the ceiling.
Better safe than sorry!
Finally, when hanging speakers from the ceiling you want to make sure they are secure and will not fall and break. The last thing you want is for your beautiful new speaker to come crashing down and shatter into pieces!
There are a variety of ways you can secure your speaker to the ceiling, so pick the method that works best for you and gives you peace of mind knowing your speaker is safe and sound.
Credit: www.youtube.com
How to Install Ceiling Speakers in New Construction
If you’re looking to add ceiling speakers to your new construction home, there are a few things you need to take into account. First, you’ll need to determine the best location for the speakers. Keep in mind that ceiling speakers should be installed at least 7 feet from the floor and should not be placed directly above any heat sources.
Once you’ve selected the ideal location, use a stud finder to mark the studs in the ceiling. Then, cut a hole in the drywall using a hole saw or jigsaw.
Next, it’s time to install the speaker bracket.
Affix the bracket to the stud using screws or nails, then secure the speaker to the bracket. Finally, wire up your speaker by connecting it to your receiver or amplifier. If you’re not sure how to do this, consult an electrician or audio professional.
With just a little bit of effort, you can enjoy superior sound quality from your very own ceiling speakers!
How to Install Ceiling Speakers With No Attic
Ceiling speakers are a great way to improve the sound in your home theater or music listening room. But if you don’t have an attic, how can you install them?
Fortunately, there are a few different ways to install ceiling speakers without an attic.
The first option is to use speaker mounts that attach directly to the ceiling joists. You’ll need to locate the joists with a stud finder, and then drill pilot holes for the mounts. Once the mounts are in place, you can drop the speakers into them and wire them up.
Another option is to use recessed speaker boxes. These fit between the ceiling joists and sit flush with the ceiling, so they’re practically invisible once installed. You’ll need to cut holes in the drywall for the boxes, but it’s not as difficult as it sounds.
And since the boxes are sealed, they protect your speakers from dust and other debris.
Finally, you can also use in-ceiling SpeakerPods™ . These unique devices mount directly to the drywall (no cutting required) and include built-in baffles that help ensure optimal sound quality.
Plus, they come with their own paintable grilles so they blend right in with your ceiling!
Whichever installation method you choose, be sure to follow all manufacturer instructions carefully for best results. With a little time and effort, you can enjoy great sounding ceiling speakers without an attic!
How to Install Surround Sound Speakers In-Ceiling
If you’re looking to add some serious sound to your home theater, then installing in-ceiling speakers is a great option. Not only do they provide high-quality audio, but they also blend in nicely with your décor. Here’s a step-by-step guide on how to install surround sound speakers in-ceiling:
1. Choose the right location for your speakers. The ideal spot will be close to the wall and centrally located within the room.
2. Mark the speaker holes using a pencil or other sharp object.
3. Cut out the speaker holes using a drywall saw or other appropriate tool. Be careful not to damage any wiring that may be behind the wall!
4. Connect the speaker wires to the corresponding terminals on your receiver or amplifier.
Make sure that the positive and negative wires are connected properly!
5. Install the mounting brackets for your speakers (if applicable). This will ensure that they stay securely in place.
Use screws or nails to secure them into place if needed. Some models of ceiling speakers come with drop ceilings which make installation even easier! If this is case, follow instructions 6 – 8 .
Otherwise, skip ahead to instruction 9 . Drop Ceilings: 6 . Affix hanger wire around perimeter of hole using adhesive putty , leaving excess at one end 7 .
Suspend speaker from hanger wire 8 . Thread electrical wire through metal bracket and twist around screw terminal to secure Repeat steps 1 – 5 for each additional speaker until all desired locations have been completed !
Conclusion
If you’re looking to add some audio to your home theater setup, or just want better sound in your living room, then installing ceiling speakers can be a great solution. Here’s a quick guide on how to do it.
First, you’ll need to identify the joists in your ceiling.
These are the beams of wood that support the weight of your ceiling – and they’re also what you’ll be attaching the speakers to. Once you know where they are, use a stud finder to mark their location on the ceiling.
Next, cut holes for your speaker wire and speakers using a drywall saw.
Be careful not to damage any of the surrounding area – you want everything to be nice and neat when you’re done.
Now it’s time to attach the brackets that will hold your speakers in place. There are different types available, so make sure you get ones that are compatible with your particular model of speaker.
Once they’re in place, carefully lower the speakers into position and connect them to your receiver or amplifier using speaker wire.
And that’s it!