
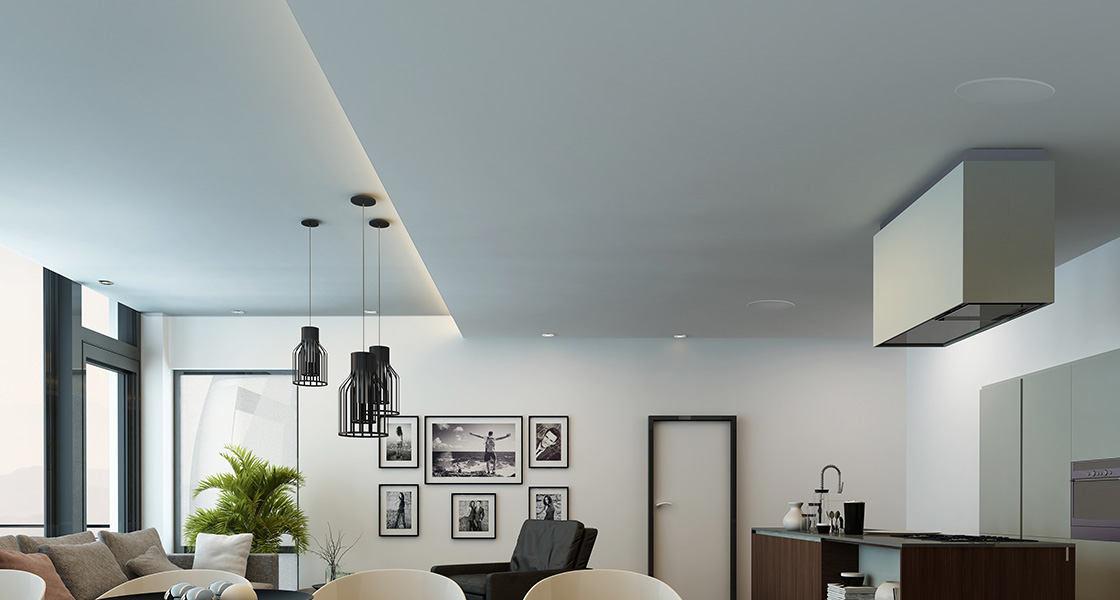
Installing Sonos ceiling speakers is a great way to improve the sound quality in your home. The process is relatively simple, but there are a few things you need to know before you get started. Here’s what you need to do to install Sonos ceiling speakers in your home.
- Choose the location for your Sonos ceiling speakers
- Trace the outline of the speaker on the ceiling with a pencil
- Cut out the traced circle with a drywall saw
- Run wires from your audio receiver to the hole you just cut out
- If you’re using in-ceiling brackets, screw those into the hole now
- If you’re not using in-ceiling brackets, fish the wire through the hole and pull enough slack to reach your speaker
- Connect spring clips or banana plugs to the wire, then twist on an elegant plate to hide unsightly connections (optional)
Sonos Sonance in ceiling install guide – English
How to Connect Sonos Ceiling Speakers to Tv
If you’re looking to add some serious sound to your TV viewing experience, then connecting Sonos ceiling speakers is a great option. Here’s a step-by-step guide on how to do it:
1. First, make sure that your Sonos speakers are compatible with your TV.
Check the list of supported TVs here.
2. Once you’ve confirmed that your TV is compatible, mount the ceiling speakers using the included hardware.
3. Next, connect the ceiling speakers to your TV using an optical cable (included in most cases).
If your TV doesn’t have an optical output, you can use an HDMI cable instead.
4. Finally, open the Sonos app and follow the prompts to complete the setup process. That’s it!
Now you can enjoy movies, TV shows, and games with incredible audio quality thanks to your new Sonos ceiling speakers.
How Many Sonos Ceiling Speakers Do I Need
Are you looking to add some serious audio firepower to your home theater setup? If so, then you might be wondering how many Sonos ceiling speakers you need.
Here’s a quick rundown of what you need to know in order to make an informed decision.
First and foremost, it’s important to understand that the number of speakers you’ll need ultimately depends on the size of your room. In general, larger rooms will require more speakers than smaller ones.
That said, most people find that four or five ceiling speakers are sufficient for most rooms.
This will give you plenty of coverage and ensure that everyone in the room can enjoy the full audio experience.
Of course, if you have a particularly large room or want to achieve truly immersive sound, then you may need even more speakers. But for most people, four or five should do the trick.
So how much does all this cost? Well, each Sonos ceiling speaker retails for around $500. So depending on how many you need, your total investment could range from $2,000 to $5,000 or more.
But keep in mind that these are high-quality speakers that will last for years and provide exceptional sound quality. So while they may not be cheap upfront, they’re definitely worth the investment in the long run.
Sonos Ceiling Speakers And Amp
When it comes to filling a room with music, there are few better ways to do it than with Sonos ceiling speakers. And when you add an amp to the mix, you can really take things up a notch. But what exactly are Sonos ceiling speakers and how do they work?
Let’s take a closer look.
Sonos ceiling speakers are designed to deliver big sound in any space – no matter how large or small. They utilize cutting-edge technology to deliver rich, detailed sound that fills the room without being overwhelming.
And because they’re wireless, they’re easy to set up and use. All you need is a power source and an internet connection.
So how do Sonos ceiling speakers work?
The key is in the software that powers them. This proprietary software uses advanced algorithms to fine-tune the sound output of each speaker. This means that whether you’re playing music, streaming a movie, or even just listening to the radio, you’ll always get clear, crisp sound quality.
And if you want even more control over your audio experience, adding an amp to your system is a great way to go. Amps allow you to adjust the volume and EQ of your system so you can create the perfect listening experience for any situation. Whether you’re entertaining guests or just relaxing at home, an amp gives you complete control over your audio environment.
If you’re looking for a simple way to fill a room with great sounding music, then Sonos ceiling speakers are definitely worth considering.
Sonos Architectural Speakers
In the world of home audio, Sonos is a well-known and respected name. They offer a wide range of products, from simple Bluetooth speakers to more complex multi-room setups. But one product line that is often overlooked is their architectural speakers.
These are designed to be installed into your walls or ceilings, and can provide high-quality sound without taking up any floor space. They’re perfect for people who want great sound without compromising on aesthetics.
There are two main types of Sonos architectural speakers: in-wall and in-ceiling.
Both offer different benefits depending on your needs. In-wall speakers tend to have a wider soundstage, while in-ceiling speakers are less obtrusive and can be easier to install.
Sonos offers a wide range of models within each category, so you’re sure to find something that fits your budget and needs.
And if you’re not sure which type of speaker is right for you, they offer a free consultation service so you can get expert advice before making your purchase.
If you’re looking for high-quality sound without sacrificing style, then Sonos architectural speakers are definitely worth considering.
Credit: www.smarthomesounds.co.uk
Do Sonos Ceiling Speakers Need Wires?
If you’re looking to add some serious audio firepower to your home theater setup, then you might be considering Sonos ceiling speakers. But before you make the leap, you might be wondering: do Sonos ceiling speakers need wires?
The answer is yes and no.
While most Sonos ceiling speaker models do require wired connections, there are a few wireless options available as well. So which one is right for you?
Wired vs Wireless Ceiling Speakers
When it comes to choosing between wired and wireless ceiling speakers, there are a few things to consider. First, think about your overall home theater setup. If you already have wiring in place for other components (like your TV and Blu-ray player), then adding wired ceiling speakers might be the simplest option.
On the other hand, if your home theater is still in the planning stages, then wireless might be the way to go since it gives you more flexibility with speaker placement.
Another thing to keep in mind is that wireless ceiling speakers typically cost more than their wired counterparts. So if budget is a concern, then wired may be the better option.
Finally, it’s worth mentioning that not all wireless ceiling speaker systems are created equal. Some use Bluetooth while others operate over Wi-Fi. Bluetooth has a shorter range than Wi-Fi and can be subject to interference from other devices in your home (like your microwave).
So if you opt for wireless, make sure to choose a system that uses dual-band Wi-Fi for the best performance.
How Do You Mount a Sonos Speaker to the Ceiling?
If you’re looking to add some serious sound to your home theater setup, or just want a great way to fill up a large room with music, then mounting your Sonos speaker to the ceiling is a great option. Here’s how to do it:
1. Choose the right location for your speaker.
You’ll want to pick a spot that’s centrally located in the room, and make sure there are no obstructions (like beams or ductwork) in the way.
2. Use the included template to mark out where you’ll need to drill holes for the bracket.
3. Drill pilot holes into the ceiling, and then use screws (included with the mount) to attach the bracket.
4. Hang your Sonos speaker on the bracket and secure it in place using the provided thumbscrews. That’s it! Now just sit back and enjoy your favorite tunes while they fill up the entire room.
How Do Sonos Ceiling Speakers Get Power?
The Sonos ceiling speakers require a power source and an amplifier in order to function. The power source can be either AC or DC, and the amplifier must be powerful enough to drive the speaker. The most common way to provide power to the Sonos ceiling speakers is through a standard outlet, using an adapter that plugs into the wall.
Other options include using batteries or solar panels.
How Far Apart Should Sonos In-Ceiling Speakers Be?
When it comes to Sonos in-ceiling speakers, there is no one-size-fits-all answer for how far apart they should be. The distance will depend on the size of your room, the type of speaker you have, and your personal preferences. However, there are a few general guidelines you can follow to ensure that your speakers are properly spaced.
The first thing you need to do is measure the length and width of your room. Once you have these dimensions, you can start to determine how many speakers you’ll need and where they should be located. For smaller rooms, two speakers may be sufficient.
However, for larger rooms, you may want to consider four or more speakers.
Next, you’ll need to decide what type of speaker you have. If you have standard bookshelf speakers, they should be placed about two feet apart from each other.
However, if you have floorstanding or tower speakers, they can be placed further apart – around three or four feet is usually ideal.
Finally, it’s important to consider your own personal preferences when spacing out your Sonos in-ceiling speakers. If possible, try experimenting with different distances until you find what sounds best in your particular space.
Remember that there’s no wrong way to do this – it’s all about finding what works best for YOU!
Conclusion
In this blog post, the author goes over how to install Sonos ceiling speakers. They start by talking about what you need in order to do the installation, which includes a drill, screws, wire cutters, and more. They then go into detail about each step of the process, from marking where you want the speaker to be installed to drilling holes and finally attaching the speaker.