
If you’re looking to boost your home audio setup, outdoor speakers are a great way to do it. But before you can enjoy the benefits of better sound quality, you need to know how to install Klipsch outdoor speakers. Here’s a quick guide on what you need to do:
1. Choose the right location for your speakers. You’ll want to find a spot where they can be securely mounted and will have enough clearance from obstacles like trees or bushes.
2. Drill holes for the mounting brackets.
Once you’ve found the perfect spot, use a drill to create holes for the screws that will hold the brackets in place.
3. Affix the brackets and speaker wire clips. With the holes drilled, simply screw in the brackets and snap on the wire clips that will keep everything tidy and organized.
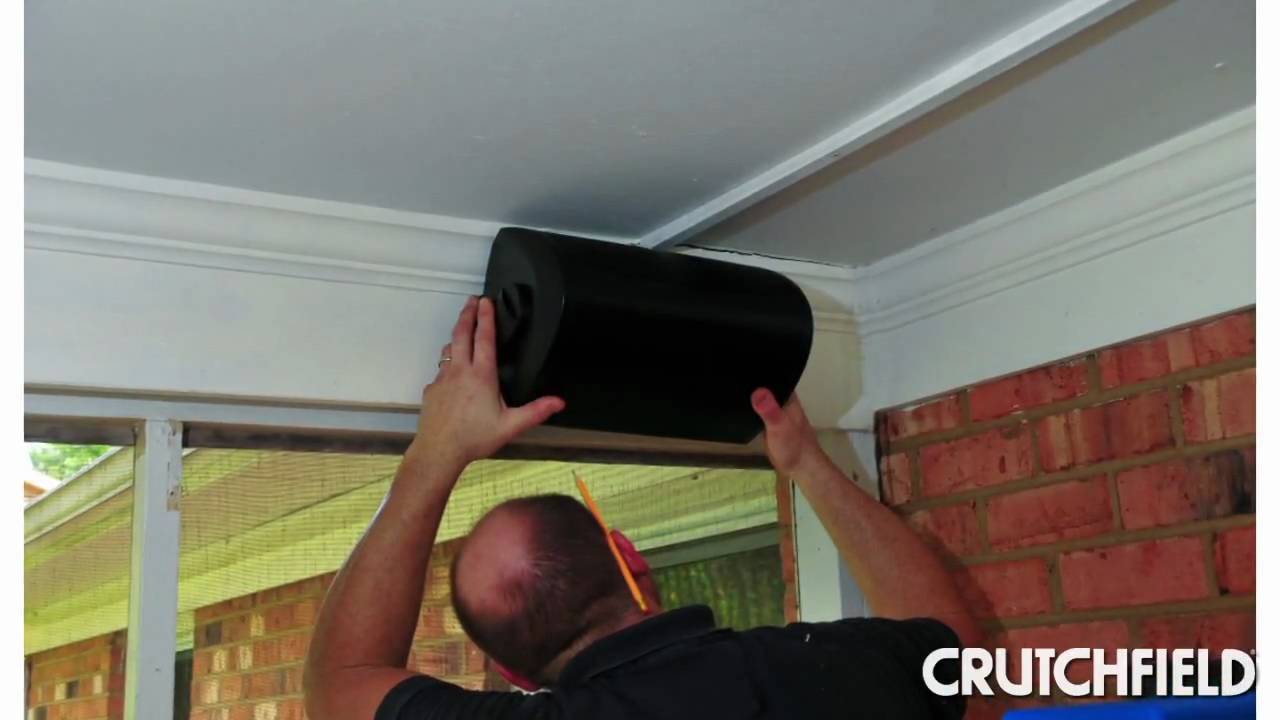
4. Hang your Klipsch outdoor speakers and connect them to your receiver or amplifier. The final step is hanging the actual speakers on the brackets and connecting them via speaker wire to your stereo system inside.
Outdoor Speaker Install | Costco Klipsch KHO-7 Outdoor Weatherproof Speakers
- Choose the location for your outdoor speakers
- Using a drill, make pilot holes in the chosen location for your speaker wire
- Run your speaker wire through the pilot holes you just created
- Connect the positive and negative wires to their corresponding terminals on the back of each speaker
- Mount your outdoor speakers using screws and wall anchors appropriate for the surface you are mounting them to
Klipsch Kho-7 Outdoor Weatherproof Speakers Installation
Installing your new Klipsch Kho-7 outdoor weatherproof speakers is a quick and easy process that anyone can do. Here are the simple steps:
1. Choose the location for your speakers.
The ideal spot is on a solid surface, away from any potential sources of moisture or water damage.
2. Using the included template, mark the four mounting holes onto the chosen surface. If you’re using an optional speaker stand, follow its instructions for proper placement.
3. Drill pilot holes into the marks, then use screws (not included) to secure the speakers in place.
4. Connect each speaker to its corresponding terminal on your receiver or amplifier using banana plugs or bare wire (also not included). Be sure to match polarity (+/-) correctly.
5. That’s it! You’re ready to enjoy superior sound quality outdoors with your new Klipsch Kho-7 speakers!
Credit: www.youtube.com
How Do You Attach Klipsch Speakers?
If you want to add Klipsch speakers to your home theater or audio setup, there are a few things you need to know. Here’s a quick guide on how to attach Klipsch speakers.
First, you’ll need to identify which type of speaker system you have.
Klipsch offers several different types of speaker systems, including:
– Home theater systems
– Surround sound systems
– Soundbars
– Wireless speakers
– Portable Bluetooth® speakers
Once you’ve identified the type of system you have, follow the instructions that came with your particular system. In general, however, most Klipsch speaker systems can be easily attached using standard cables and connectors. For example, many Klipsch soundbars come with brackets that allow them to be easily mounted on a wall.
If you’re attaching floorstanding or bookshelf speakers, they will usually need to be connected to speaker stands or placed on shelves. And if you’re using in-wall or ceiling speakers, they will need to be properly installed using the included hardware. Some wireless Klipsch speaker models may also come with their own mounting hardware for easy installation.
However, not all models will include this so be sure to check before purchasing if this is something you’re interested in. Once everything is properly connected and installed, simply power on your system and enjoy superior sound quality from your new Klipsch speakers!
How Do You Mount Outdoor Speakers?
Assuming you would like tips on how to best mount outdoor speakers:
When mounting outdoor speakers, it is important to consider both the speaker and the location. There are a few different ways to mount outdoor speakers, so choose the method that will work best for your particular setup.
One way to mount outdoor speakers is by using brackets. Brackets can be mounted directly onto a wall or onto a pole. If mounting the bracket onto a wall, make sure to use screws that are appropriate for concrete or brick.
When attaching brackets to a pole, it is important to use straps or clamps that are designed for outdoor use.
Another way to mount outdoor speakers is by using in-ground mounts. In-ground mounts are placed directly into the ground and can be used with either poles or walls.
To install an in-ground mount, first dig a hole that is slightly larger than the base of the mount. Then, insert the base of the mount into the hole and secure it in place with cement or dirt. Once the base is secure, you can then attach your speaker to the mount.
If you are looking for a temporary solution or want to be able to move your speakers around easily, portable speaker stands are also an option. Portable speaker stands come in various sizes and can be adjusted to fit most types of speakers. To use a portable speaker stand, simply place the stand on level ground and insert your speaker into the top portion of the stand.
Make sure that your speaker is securely fastened before moving it around.
No matter which method you choose, follow all instructions carefully and take extra caution when working with tools outdoors. With proper installation, your new outdoor speakers should provide years of enjoyment!
How Far Apart Should Klipsch Speakers Be?
Klipsch speakers are designed to create a wide soundstage, so they should be placed at least 2-3 feet apart for optimal listening. However, if you’re looking for a more focused sound, you can place the speakers closer together. Just be sure to experiment with placement to find what sounds best in your room.
How Do You Layout Outdoor Speakers?
When it comes to outdoor speakers, there are a few things to keep in mind when it comes to layout. First, you’ll want to consider the size and shape of your outdoor space. This will help determine how many speakers you’ll need and where they should be placed.
Second, you’ll want to take into account the type of music or audio you’ll be playing outdoors. This will help ensure that the sound is evenly distributed throughout the space. And finally, you’ll want to make sure that the speakers are weatherproof and can withstand the elements.
Now let’s get into more detail about each of these points…
Size and shape of your outdoor space: When it comes to speaker placement, bigger isn’t always better. In fact, in many cases, smaller speakers will do just fine.
That said, if you have a large outdoor area, you may want to consider using multiple speakers or even subwoofers to ensure that the sound is evenly distributed throughout the space. If you’re not sure how many speakers you need, a good rule of thumb is one speaker for every 50 square feet (5 square meters). So, if your outdoor space is 500 square feet (50 square meters), you would need 10 speakers.
Type of music or audio: The type of music or audio you’ll be playing outdoors will also impact speaker placement. If you’re mostly going to be playing background music at lower volumes, then placing the speakers near walls or in corners can help create an even soundscape without overwhelming people with too much sound. However, if you’re planning on playing party music or hosting live events outdoors, then having more powerful speakers positioned in strategic locations will give people a better experience overall.
Just keep in mind that if people are going to be moving around a lot (dancing for example), then having stereo separation between left and right channels can help prevent muddiness in the sound.
Weatherproofing: Finally, since we’re talking about outdoor speakers here, it’s important to make sure that they’re weatherproofed so they can withstand rain, snow ,and sun exposure without issue . Look for features like rust-resistant materials , UV-resistant finishes ,and waterproof enclosures .
These will all help extend the life of your outdoor speakers and prevent damage from harsh weather conditions .
Conclusion
If you’re looking to add some great sound to your outdoor space, Klipsch outdoor speakers are a great option. They offer superior sound quality and durability, making them perfect for any environment. Here’s a step-by-step guide on how to install Klipsch outdoor speakers:
1. Choose the right location for your speakers. Keep in mind that placement is key for getting the best sound possible. If you’re not sure where to put them, consider hiring a professional installer.
2. Once you’ve selected the perfect spot, use a drill to make pilot holes for the speaker mounts. Be careful not to damage any wiring while drilling.
3. Next, attach the brackets to the back of the speaker using screws or bolts (depending on what type of mount you’re using).
Make sure they’re tight so the speaker doesn’t move around.
4. Now it’s time to connect the speaker wire from your receiver or amplifier to the terminals on the back of the speaker. Make sure everything is secure and correctly plugged in before moving on.
5 Lastly, hang or place your speakers in their desired location and enjoy!