
Installing ceiling speakers is a great way to get surround sound without having to deal with unsightly speaker wires. However, before you can enjoy your new speakers, you need to take the time to set them up properly. Here are a few tips on how to set up ceiling speakers so that you can enjoy the best possible sound quality in your home theater system.
- Hang the speakers from the ceiling using wires or brackets
- Connect the speakers to an amplifier or receiver
- Adjust the volume on the amplifier or receiver to a comfortable level
- Enjoy your music!
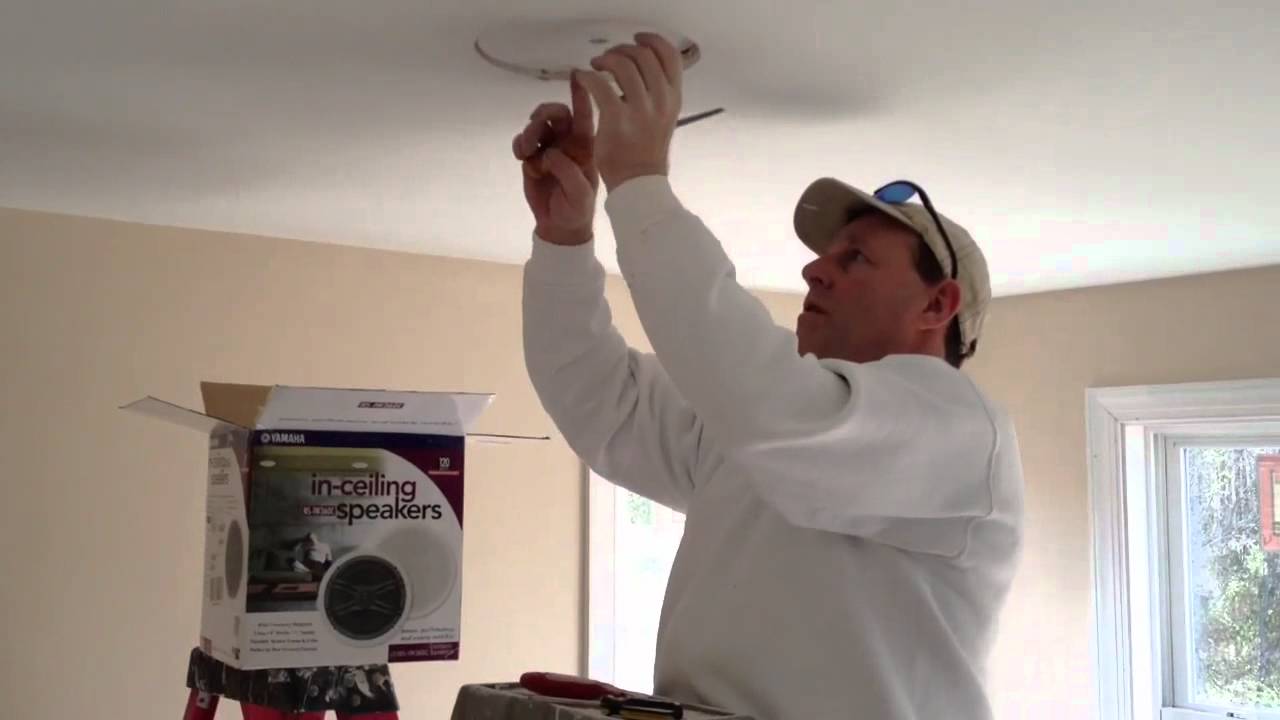
Credit: www.youtube.com
How Do You Layout Ceiling Speakers?
If you’re looking to add some oomph to your home theater setup, or just want better sound throughout your house, in-ceiling speakers are a great option. But before you start drilling holes in your ceiling, there are a few things you need to know about how to layout ceiling speakers.
The first thing to consider is the size of the room.
In general, you’ll want one speaker per 50 square feet of living space. So if you have a 500 square foot living room, you’ll need at least 10 speakers. Of course, this is just a guideline – if you have a particularly large or small room, you may need more or fewer speakers.
Another important consideration is the shape of the room. If your room is long and narrow, it’s best to place the speakers along the longest wall. This will help ensure that everyone in the room gets good sound coverage.
If your room is more square-shaped, then placing the speakers in each corner can work well.
Once you’ve decided how many and where to place your speakers, it’s time to start drilling holes! Begin by attaching the brackets that came with your speakers (usually two per speaker) into the drywall using screws and wall anchors.
Then simply screw the speaker into the bracket and tighten until snug. Repeat this process for each speaker until they’re all installed.
Finally, wire up your receiver or amplifier to each of the ceiling speakers using speaker wire (making sure to connect positive (+) leads to positive terminals and negative (-) leads to negative terminals).
Once everything is plugged in and turned on, enjoy enhanced audio throughout your home!
How Do You Connect to Speakers in the Ceiling?
There are a few different ways that you can connect to speakers in the ceiling. The most common way is to use speaker wire. You will need to find the positive and negative terminals on your speaker, and then connect the corresponding wires to the correct terminals on your amplifier.
Another way to connect is by using binding posts. This method is a bit more difficult, but it will give you a cleaner connection. Finally, you can also use banana plugs.
This type of connection is very easy to make, but it is not as secure as the other two methods.
What Do You Need to Run in Ceiling Speakers?
If you’re looking to add some ceiling speakers to your home audio setup, there are a few things you’ll need to consider. First, you’ll need to decide on the type of speaker you want. There are two main types of ceiling speakers: in-ceiling and on-wall.
In-ceiling speakers are designed to be installed flush with the ceiling, while on-wall speakers mount on the wall and project sound into the room.
Once you’ve decided on the type of speaker, you’ll need to select a model that fits your needs. There are a variety of factors to consider when choosing a speaker, such as size, power handling, frequency response, and sensitivity.
You’ll also want to make sure that the speaker is compatible with your amplifier or receiver.
Once you have all of the necessary equipment, installing ceiling speakers is relatively easy. Just follow the instructions that come with your particular model of speaker.
In most cases, all you’ll need is a screwdriver and drill. And if you’re not confident in your DIY skills, many local home theater installers offer installation services for an additional fee.
Do I Need a Receiver for Ceiling Speakers?
If you want to install ceiling speakers in your home, you will need a receiver to power them. A receiver amplifies the audio signal from your sound source and sends it to your speakers. It is the central hub for your home audio system.
without a receiver, your ceiling speakers will not work.
You can connect your ceiling speakers to a receiver using speaker wire or wireless technology. If you are using speaker wire, you will need to connect the positive and negative terminals on the back of the receiver to the corresponding terminals on the back of each speaker.
If you are using wireless technology, you will need to pair your devices according to the manufacturer’s instructions.
Ceiling speakers are a great way to improve the sound quality in your home. With a receiver, they can be used for music listening or as part of a home theater system.
Choose the right model for your needs and enjoy enhanced sound quality throughout your home.
I should have hired a professional… DIY in-ceiling speaker install
How to Connect Ceiling Speakers to Amplifier
When it comes to home audio, there are a lot of different ways that you can set things up. One popular option is to use ceiling speakers, which can provide great sound quality and blend in nicely with your décor. But if you’ve never installed ceiling speakers before, you might be wondering how to go about connecting them to your amplifier.
The good news is that it’s actually not that difficult! Here’s a step-by-step guide to help you get started:
1. Choose the right location for your speakers.
You’ll want to avoid any areas where there might be obstacles in the way, such as beams or ductwork. And make sure that the speaker will be able to fit comfortably into the space without being too cramped.
2. Cut out a hole for the speaker using a saw or other tool.
The size of the hole will depend on the particular speaker model that you’re using.
3. Feed the speaker wire through the hole and connect it to the terminals on the back of the speaker (positive to positive and negative to negative). Make sure that the connections are tight so that they don’t come loose over time.
4. Attach the speaker grill (if applicable) and then insert the speaker into the hole in your ceiling. Use screws or another method of attachment depending on what type of mounting hardware came with your speaker system. If necessary, apply some caulk around edge ofthe holeto create a seal and prevent air leaks .5 Hang pictures or paintings over topthe speakers if they are visible once installed.
.6Now allthat’s leftto dois connectyour amplifier toyourceiling speakersand enjoythe improvedsound qualityin your home!
Conclusion
If you want to add some oomph to your home theater or audio setup, consider adding ceiling speakers. They’re relatively easy to install (especially if you have a drop ceiling) and can provide a nice, immersive sound experience. Here’s a quick guide on how to set up ceiling speakers.
First, determine where you want the speakers to go and mark the spot with tape or a pencil. Then, using a drill, make pilot holes for the screws that will hold up the speaker brackets. Next, screw in the brackets and hang the speakers from them.
Finally, wire the speakers up to your receiver or amplifier.
That’s it! With just a few simple steps, you can enjoy better sound quality from your ceiling speakers.