
If you’re looking to add some audio to your home theater setup, or simply want better sound quality for music streaming and movies, then ceiling speakers are a great option. But before you can enjoy the benefits of ceiling speakers, you need to know how to connect them properly. In this blog post, we’ll show you everything you need to know about connecting ceiling speakers, from what wires to use, to where to place the speakers in your room.
By the end of this post, you’ll be an expert on connecting ceiling speakers!
- Before connecting your ceiling speakers, decide where you want them to be placed and how many you need
- Once you have determined the placement of your speakers, use a drill to make holes for the wires
- Be careful not to make the holes too big
- After drilling the holes, insert the speaker wire through them and up into the attic space or crawlspace above the ceiling
- If you’re using in-wall rated speaker wire, you can also run it along the sides of your walls
- In order to secure the speaker wire, use staples or nails at each hole around the perimeter of the room
- This will ensure that your speakers are stable and won’t fall down over time
- 5Now that your speaker wire is in place, it’s time to connect it to your amplifier or receiver
- Start by running positive (red) and negative (black) wires from each speaker to their respective terminals on your receiver
6Next, use banana plugs or bare copper wire to connect each pair of wires coming out of your receiver to its corresponding set of inputs on your amplifier
7Finally, plug in your amplifier and turn on your stereo system
I should have hired a professional… DIY in-ceiling speaker install
How Do You Connect to Speakers in the Ceiling?
There are a few ways to connect speakers to your ceiling. The most common way is to use brackets or screws to mount the speaker onto the ceiling. You can also use adhesive pads or velcro strips to secure the speaker in place.
If you have a false ceiling, you may be able to install the speakers into the joists. Another option is to use recessed lighting fixtures that have built-in speakers.
How Do Ceiling Speakers Connect to Wireless?
Wireless ceiling speakers are a great way to enjoy music or other audio without having to worry about cords and connections. There are a few different ways that wireless ceiling speakers can connect to your audio source, so it’s important to know which one will work best for you.
The most common way to connect wireless ceiling speakers is through Bluetooth.
Most smartphones and other devices have Bluetooth capabilities, so this is usually the easiest way to connect. If your device doesn’t have Bluetooth, you can usually find an adapter that will allow you to use it. Another option is to use a WiFi connection.
This requires a bit more setup, but it can be worth it if you want to avoid using Bluetooth.
Once you’ve decided how you want to connect your wireless ceiling speakers, the next step is to choose the right model for your needs. There are many different brands and types of wireless ceiling speakers on the market, so it’s important to do some research before making your final decision.
Once you’ve found the perfect set of wireless ceiling speakers, all that’s left is to sit back and enjoy the sound!
Do I Need a Receiver for Ceiling Speakers?
If you want to install ceiling speakers in your home, you will need a receiver to power them. A receiver is an amplifier that takes the audio signal from your music source and amplifies it so that the ceiling speakers can play it at a higher volume. You can find receivers at most electronics stores.
How Do I Play Music Through Speakers in My Ceiling?
Assuming you would like a blog post discussing how to play music through speakers in your ceiling:
There are a few different ways that you can go about playing music through speakers in your ceiling. One option is to use an existing sound system that you have in your home.
If you have a receiver and amplifier, you can connect these to your ceiling speakers using speaker wire. Another option is to purchase a wireless audio system specifically designed for use with ceiling speakers. These systems typically come with an amplifier and receiver, and they allow you to stream music from your phone or other device wirelessly.
If you are looking to install new speakers in your ceiling, there are a few things you will need to take into account. First, you need to decide what type of speaker you want to use. There are two main types of ceiling speakers: in-ceiling and on-ceiling.
In-ceiling speakers are flush with the ceiling, while on-ceiling speakers sit on top of the ceiling surface. The type of speaker you choose will depend on personal preference as well as the style of your home’s interior design.
Once you have decided on the type of speaker, the next step is to determine the size of the speaker needed.
This will be based on the size of the room where the speaker will be installed. Larger rooms will require larger speakers, while smaller rooms can get by with smaller ones. It is also important to consider the wattage rating when selecting a speaker; this will determine how loud the speaker can get without distortion.
The final step is installation. For most people, it is best to hire a professional installer who has experience working with ceilings and electrical wiring. However, if you feel confident in your ability to do it yourself, there are instructional videos and articles available online that can walk you through the process step by step.
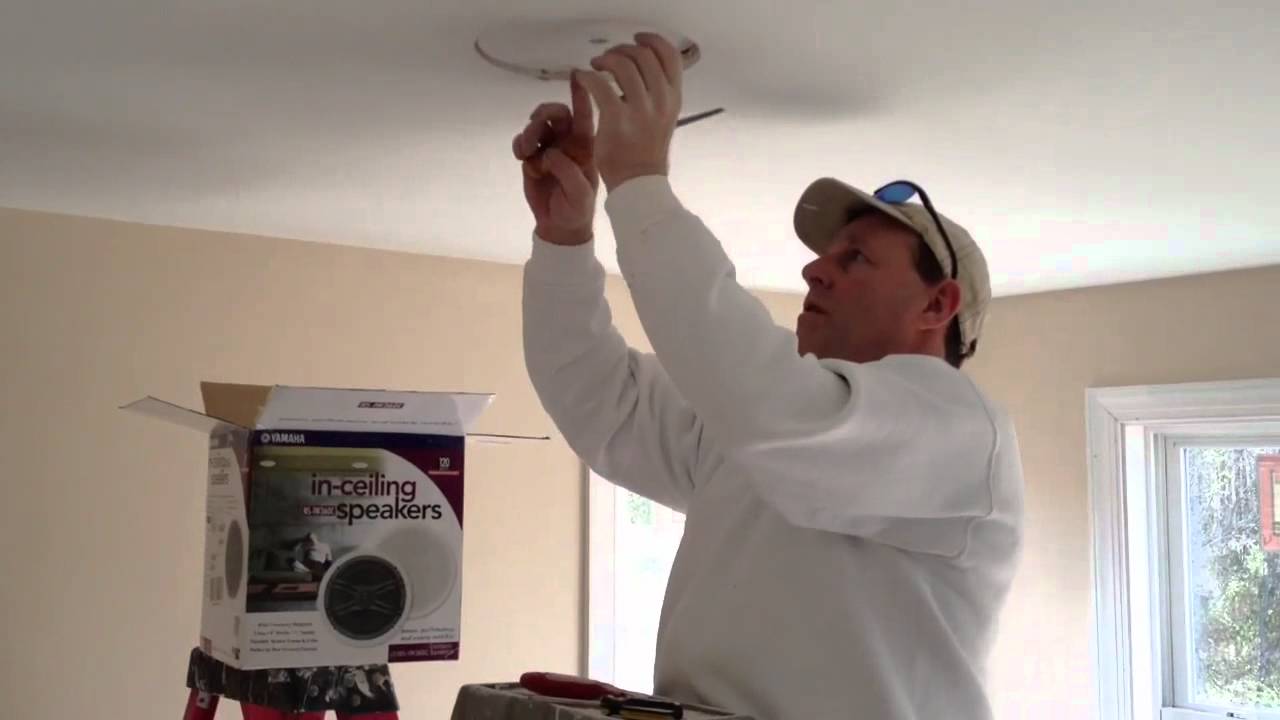
Credit: www.youtube.com
How to Connect Ceiling Speakers to Amplifier
If you want to add ceiling speakers to your home theater or audio system, there are a few things you need to do in order to connect them properly. First, identify the location of the studs in your ceiling using a stud finder. Once you have found the studs, use a drill to make pilot holes for your speaker wire.
Next, thread the speaker wire through the pilot holes and into the space between the studs. Finally, use drywall screws to secure the speaker wire in place and connect it to your amplifier.
If you want to add ceiling speakers to your home theater or audio system, there are a few things you need to do in order first:
1) Use a stud finder and mark where each stud is located in your ceiling- this will be important when it comes time to drill
2) Drill small pilot holes above each marked spot- these will be used later on so that you can thread speaker wire through without any trouble
3) Thread speaker wire through each of the pilot holes- make sure that there is enough slack so that you can easily connect it later on
4) Connect the other end of each section of speaker wire securely to an amplifier
5) Done!
Conclusion
If you’re looking to add some extra oomph to your home theater setup, then connecting ceiling speakers is a great way to do it. But before you start running wires all over your ceilings, here are a few things to consider.
First, you’ll need to decide where you want to place your speakers.
The ideal spot is usually near the front of the room, close to where your TV is located. This will ensure that the sound is evenly distributed throughout the room.
Once you’ve chosen the location for your speakers, the next step is running the wires.
If you’re not comfortable doing this yourself, then hiring an electrician may be the best option. However, if you’re up for a little DIY project, then follow these steps:
1) Cut small holes in your ceiling using a drywall saw.
These holes should be big enough for your speaker wire to fit through but small enough so that they’re not too noticeable.
2) Run the speaker wire through the holes and down into your wall cavity. Make sure that there’s enough slack so that you can connect the wire to your speaker without any problems.
3) Use wire staples or electrical tape to secure the speaker wire in place so that it doesn’t move around too much.
4) Connect one end of the speaker wire to your receiver or amplifier and then run it back up into the ceiling hole. Repeat this process for each speaker.5) Once all of your speakers are wired up, turn on your receiver or amplifier and test out your new setup!